Hi, This is a short guide on how to get up and running with RealityKit on VisionOS.
We'll cover:
- Installing required software
- Xcode
- Creating a RealityView
- Creating an Entity
- Dragging the Entity with Gestures
- Creating a Component
Installing required software
VisionOS is shipped in Xcode 15.2 and later, the easiest way to download this is from Xcode Releases
Xcode
We're based in the UK and getting hands-on time with a physical device is currently a challenge, for this guide we'll be running our examples in Xcode Preview and Simulator.
Creating a RealityView
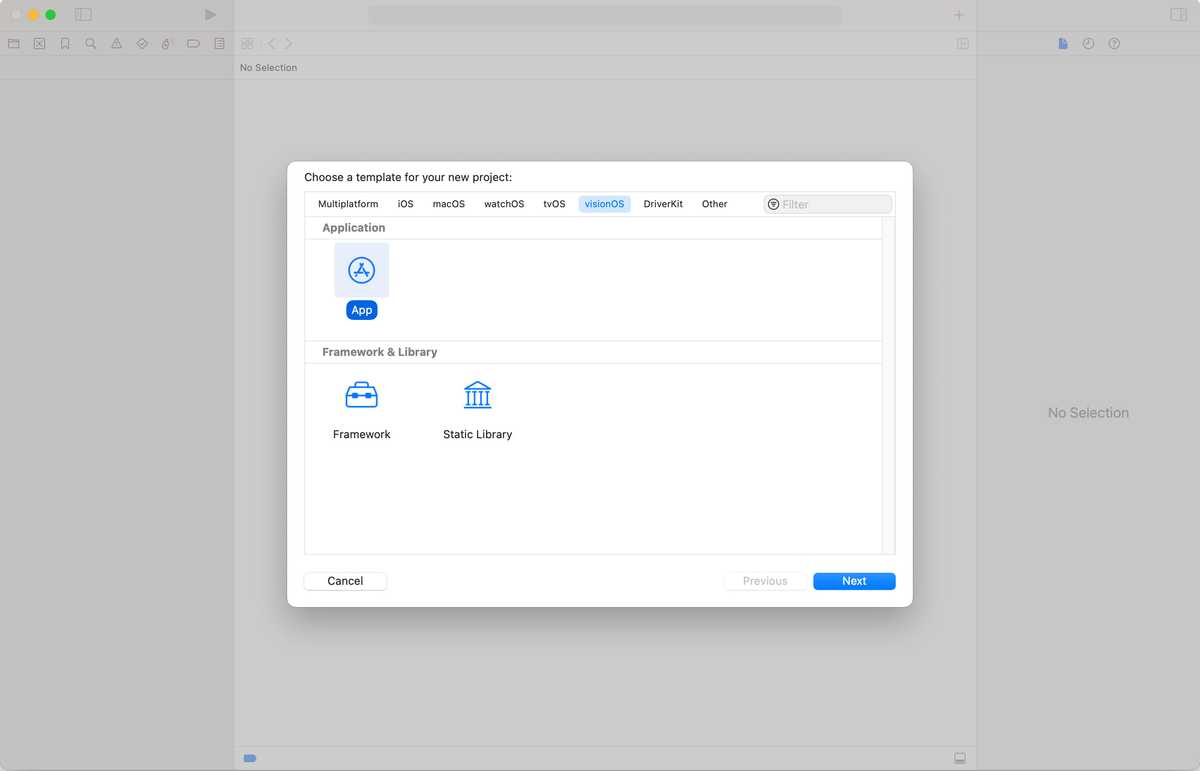
When you open Xcode 15.2 you'll be asked to create a project, choose visionOS App.

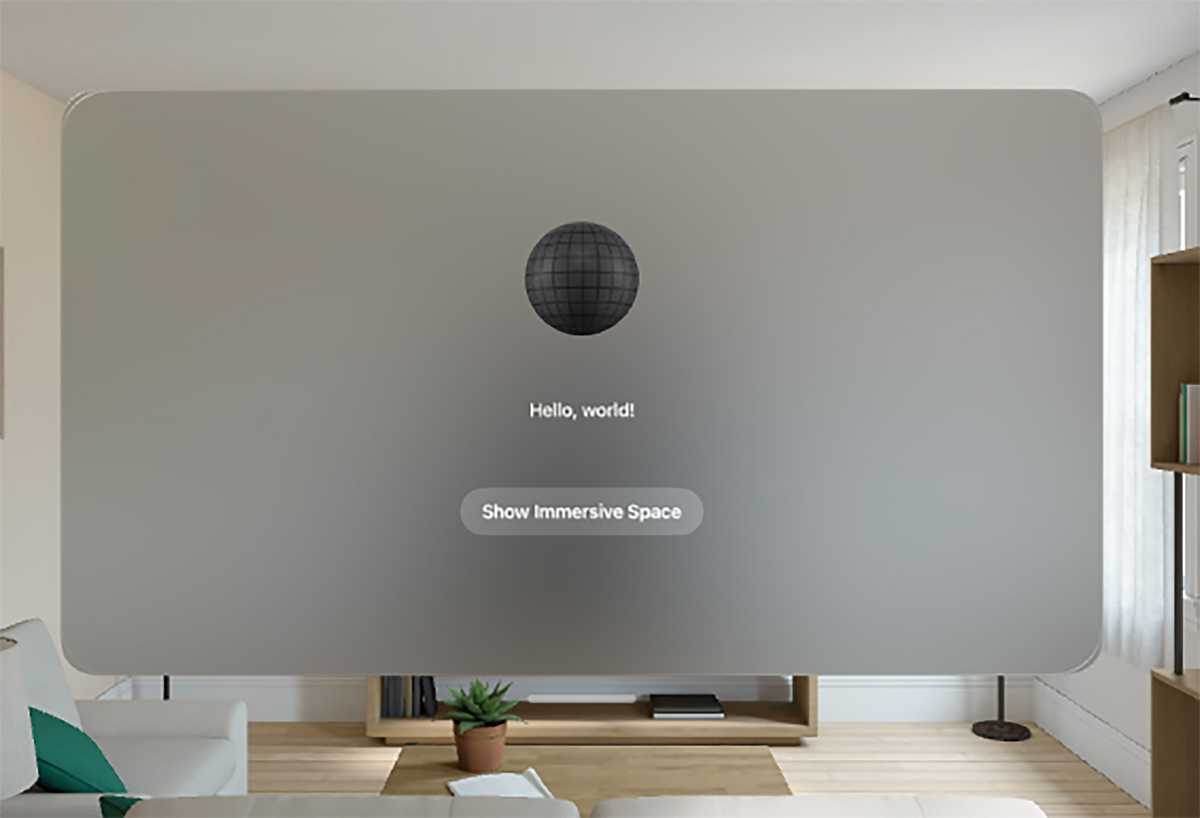
This creates a basic template App containing:
- ContentView
- ImmersiveView
The ContentView load the Immersive View when instructed to.
ContentView
You can think of a ContentView as a 2D view presented in 3D space. I think of it as a normal iOS App, all iOS controls work in this view.
You'll note that you can also move this view around by holding down in the white bar at the bottom
of the view, and then moving it to wherever you want.
ImmersiveView
The ImmersiveView contains a pre-made RealityView View, it loads some content from a referenced RealityKitContent package.
Running the default app
You can use this app in the Canvas Preview, or via running it in the Simulator, CMD+R

Starting afresh
However, we'd like to explain why things work they way they do, so let's delete all of the code in the ImmersiveView
Let's start clean, paste this in:
import SwiftUI
import RealityKit

struct ImmersiveView {

}

extension ImmersiveView: View {
  var body: some View {
    Text("Getting Started")
  }
}

#Preview {
  ImmersiveView()
    .previewLayout(.sizeThatFits)
}
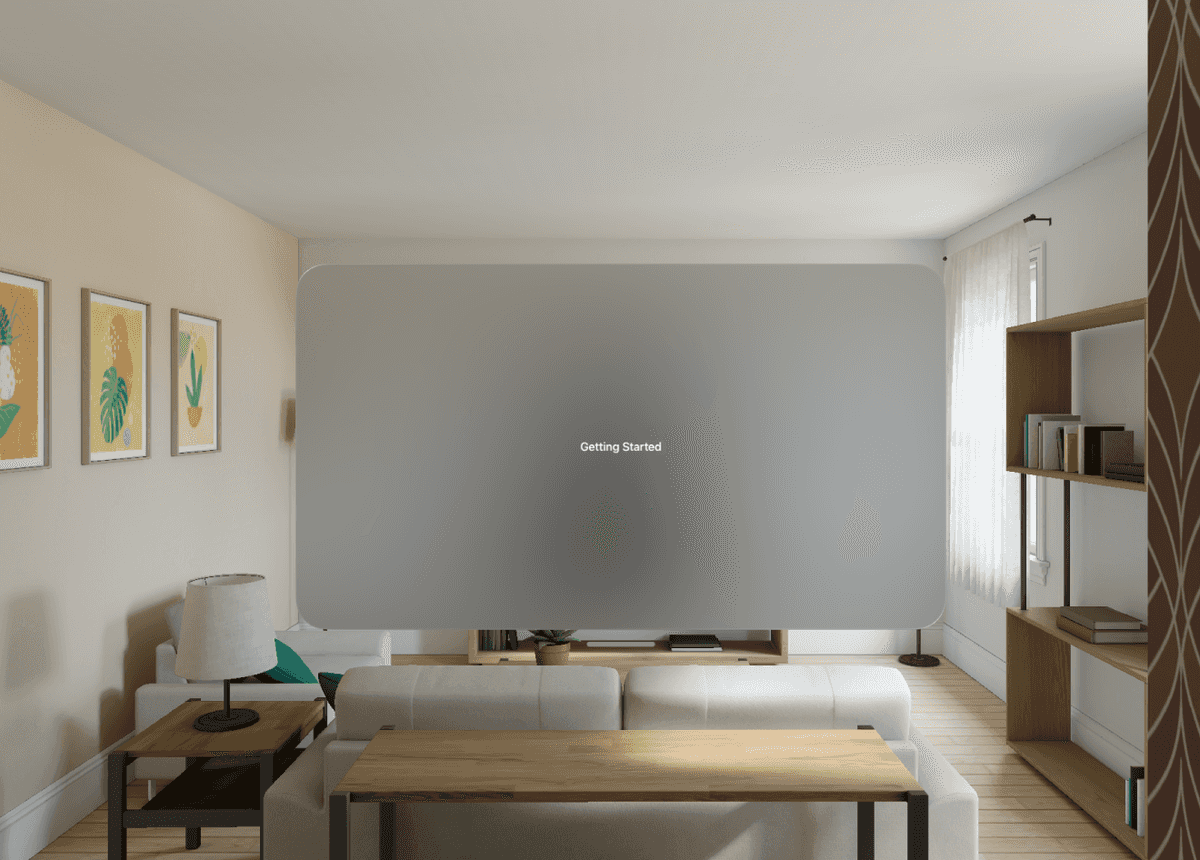
You should see the Preview Canvas update so that it has a Label "Getting Started"

Let's replace the Text Label with a RealityView to load some 3D Content.
import SwiftUI
import RealityKit

struct ImmersiveView {

}

extension ImmersiveView: View {

  var body: some View {
    realityView
  }

  private var realityView: some View {
    RealityView { content in

    }
  }
}

#Preview {
  ImmersiveView()
    .previewLayout(.sizeThatFits)
}
If done correctly, the canvas should update and show... nothing, that's because we haven't asked the RealityView to draw anything.

You can see the RealityView's closure has a content argument, you can think of that as the scene into which
we can add content.
The Content that we want to add are Entities, we can create one directly in the closure, but let's separate it out a little.
Creating an Entity
Let's create a new file called Shape.swift, well have a class that can represent a Shape Entity
import RealityKit

class Shape: Entity {

  required init() {
    super.init()
  }

}
If we added that to the scene nothing would render as we have no 3D content, let's fix that by adding a 3D Cube as a child entity
import RealityKit

class Shape: Entity {

  required init() {
    super.init()

    let cube = ModelEntity(mesh: .generateBox(size: 0.25))
    self.addChild(cube)
  }

}
It's important to note that the units used in RealityKit are in meters, so this cube is 25cm along each edge.
Entities can have multiple children, and those children can also have children and so on, so in that sense, you can think of it like a tree of Entities/Nodes.
We can now switch back to the ImmersiveView and add this Shape to the scene.
import SwiftUI
import RealityKit

struct ImmersiveView {

}

extension ImmersiveView: View {

  var body: some View {
    realityView
  }

  private var realityView: some View {
    RealityView { content in
      let shape = Shape()
      content.add(shape)
    }
  }
}

#Preview {
  ImmersiveView()
    .previewLayout(.sizeThatFits)
}
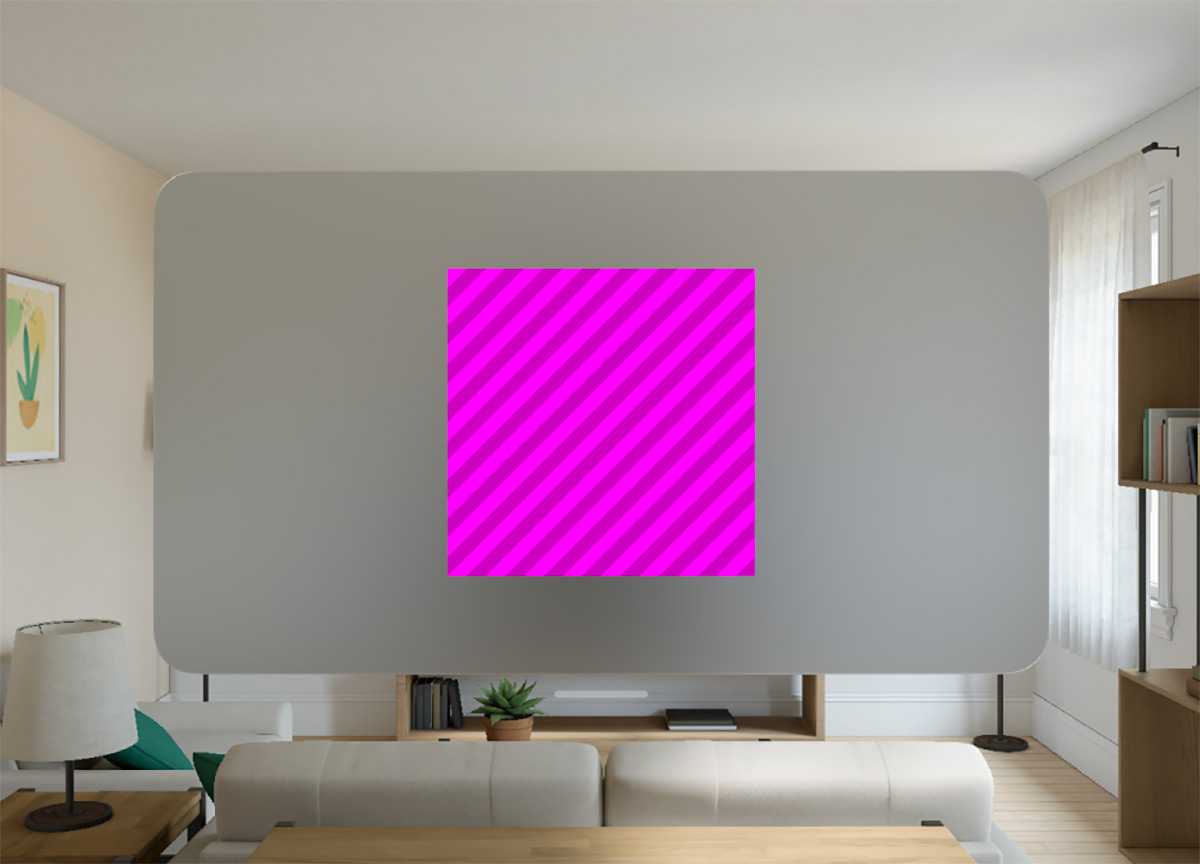
You will see the canvas update, it will display a pink/purple striped cube, use your mouse to move around the scene.
Note: No Texture/Material has been applied to this Cube, we'll cover that in another tutorial.

Dragging the Entity with Gestures
Ok, so we have a 3D cube floating in space...let's make it so that we can move it via dragging it.
We need to add a DragGesture to the RealityView
The default implementation can look like this:
import SwiftUI
import RealityKit

struct ImmersiveView {

}

extension ImmersiveView: View {

  var body: some View {
    realityView
  }

  private var dragGesture: some Gesture {
    DragGesture()
      .onChanged { value in

      }
  }

  private var realityView: some View {
    RealityView { content in
      let shape = Shape()
      shape.position = [0,0,0]
      content.add(shape)
    }
    .gesture(dragGesture)
  }
}

#Preview {
  ImmersiveView()
    .previewLayout(.sizeThatFits)
}
Note the new dragGesture variable, it's attached to the RealityView.
If you try and drag the cube, nothing will happen, why?...
The cube has not been told that it can be interacted with, and to do that, we can use components.
Creating a Component
An Entity can have a collection of Components,I think of them as traits that the entity has, for example:
An Entity can have the HoverEffectComponent which RealityView interprets as highlighting the Entity when it is hovered over, whether that by via a mouse, or gaze.
In order for the Cube to be Selectable we need to add the InputTargetComponent and CollisionComponent. Let's update the code:
import RealityKit

class Shape: Entity {

  required init() {
    super.init()

    let cube = ModelEntity(mesh: .generateBox(size: 0.25))
    self.addChild(cube)

    self.generateCollisionShapes(recursive: true)
    cube.components.set(InputTargetComponent())
  }

}
This tells RealityView that this Entity can track input.
However, even with this, our DragGesture still doesn't work, why?
The DragGesture has another method that defines on which entity it affects:
targetedToEntityThis takes a Component to filter on, in our demo, we only want to select Shapes so let's create a new ShapeComponent that only Shapes have
import RealityKit

class ShapeComponent: Component {}
We can then attach this to our Shape Entity
import RealityKit

class Shape: Entity {

  required init() {
    super.init()

    let cube = ModelEntity(mesh: .generateBox(size: 0.25))
    self.addChild(cube)

    self.generateCollisionShapes(recursive: true)
    cube.components.set(InputTargetComponent())

    cube.components[ShapeComponent.self] = ShapeComponent()
  }

}
The DragGesture can then be updated to filter on that component
import SwiftUI
import RealityKit

struct ImmersiveView {

}

extension ImmersiveView: View {

  var body: some View {
    realityView
  }

  private var dragGesture: some Gesture {
    DragGesture()
      .targetedToEntity(where: .has(ShapeComponent.self))
      .onChanged { value in

      }
  }

  private var realityView: some View {
    RealityView { content in
      let shape = Shape()
      shape.position = [0,0,0]
      content.add(shape)
    }
    .gesture(dragGesture)
  }
}

#Preview {
  ImmersiveView()
    .previewLayout(.sizeThatFits)
}
If you now run the demo, you can see the onChanged handler is called when you try to drag the Shape
We can now take the value from the targetedToEntity to set the new position of the entity selected.
import SwiftUI
import RealityKit

struct ImmersiveView {

}

extension ImmersiveView: View {

  var body: some View {
    realityView
  }

  private var dragGesture: some Gesture {
    DragGesture()
      .targetedToEntity(where: .has(ShapeComponent.self))
      .onChanged { value in
        let entity: Entity = value.entity
        entity.position = value.convert(value.location3D, from: .local, to: entity.parent!)
      }
  }

  private var realityView: some View {
    RealityView { content in
      let shape = Shape()
      shape.position = [0,0,0]
      content.add(shape)
    }
    .gesture(dragGesture)
  }
}

#Preview {
  ImmersiveView()
    .previewLayout(.sizeThatFits)
}
So that's not a lot of code to Add a 3D entity and drag it around the scene.
